Migrate to Zephyr
Note
This option needs to be manually enabled by SmartBear Support. Please raise a ticket to enable this feature.
How to migrate?
The migration beta user interface is now accessible to selected customers, allowing them to start the migration process. The interface enables users to review the list of entities available for migration and identify those that will not be migrated before initiating the migration process.
You need to install the Zephyr app before proceeding with the migration.
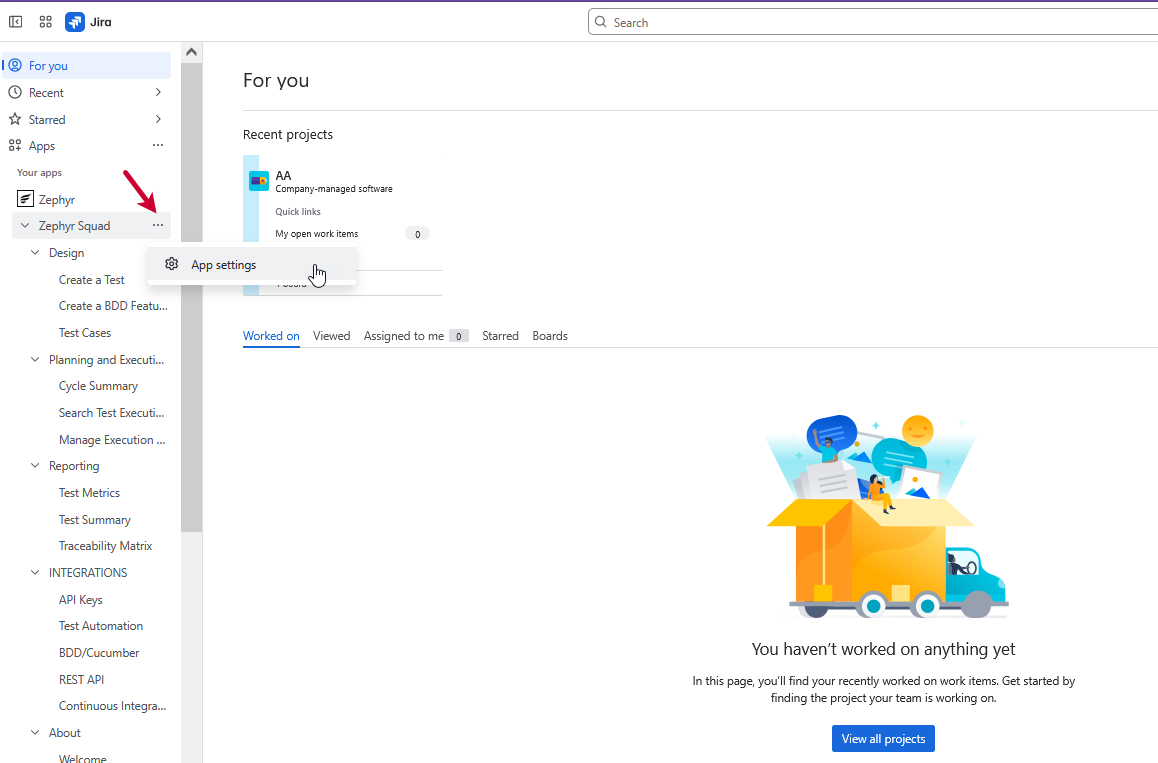
Go to Apps > Zephyr Squad on the left sidebar in your Jira instance and click the three dots to open the app settings.
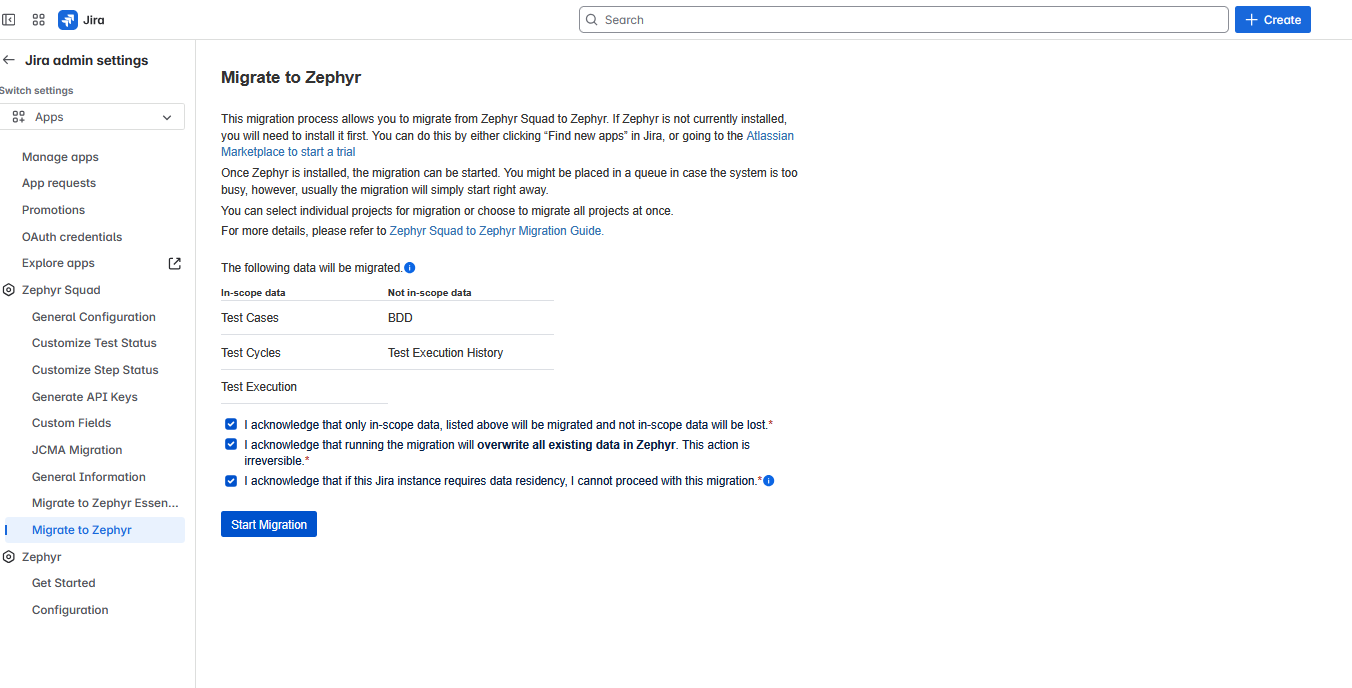
Once the Zephyr app is installed, Click the Start Migration button and mark the checkboxes to proceed.
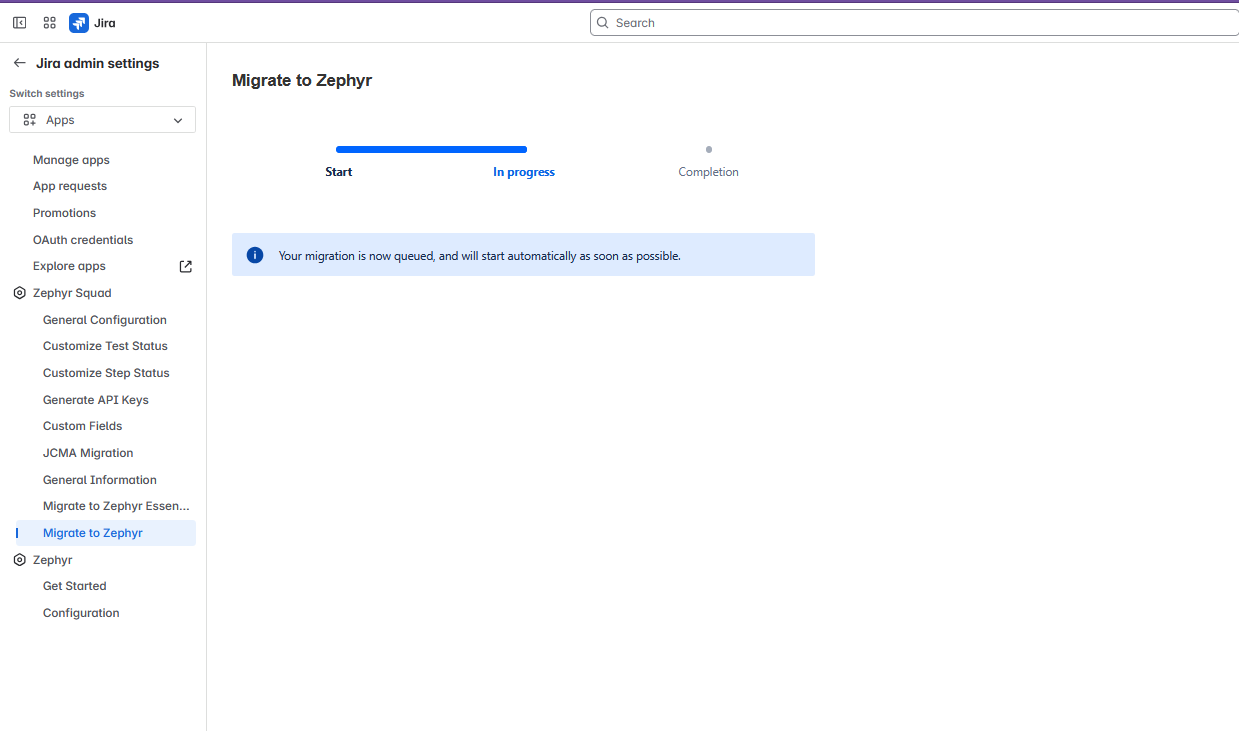
If there is another migration in progress, you will not be able to begin. Wait for the other migration to complete. The following migration process will start automatically.
Start the migration
Click Start Migration and mark the checkboxes to begin the process.
You can do either of the following:
Migrate all of the projects by checking Migrate All Projects option and clicking Continue Migration
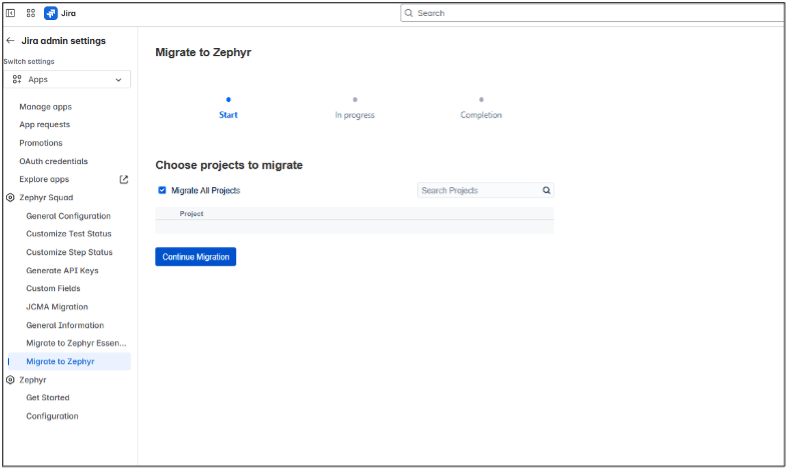
Use the search bar to pick the project you want to migrate, and click Continue Migration
The individual selection is limited to a maximum of 50 projects at a time; however, the Migrate All Projects option selects all projects for that instance. The project list also displays migrated projects. You can skip these or re-migrate them as needed.
Warning
Once the migration starts, you cannot cancel the process.
The migration process replaces existing data in Zephyr, so any new work in Zephyr will be overwritten if the project is migrated again.
How to track progress?
Once the migration begins, you can track its progress in the user interface through a progress bar, which displays the overall progress for all projects. If the migration encounters issues or fails, the progress stops and the error message appears.
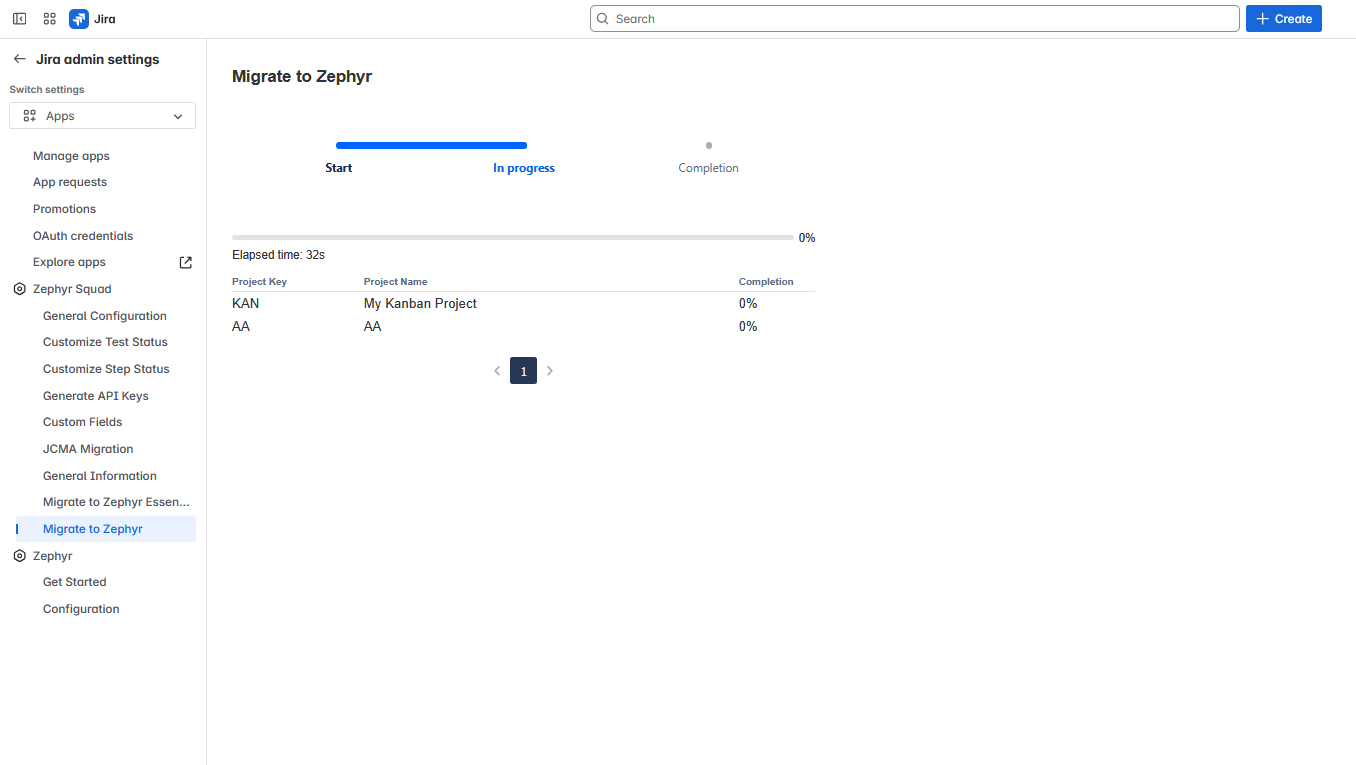
Migration complete
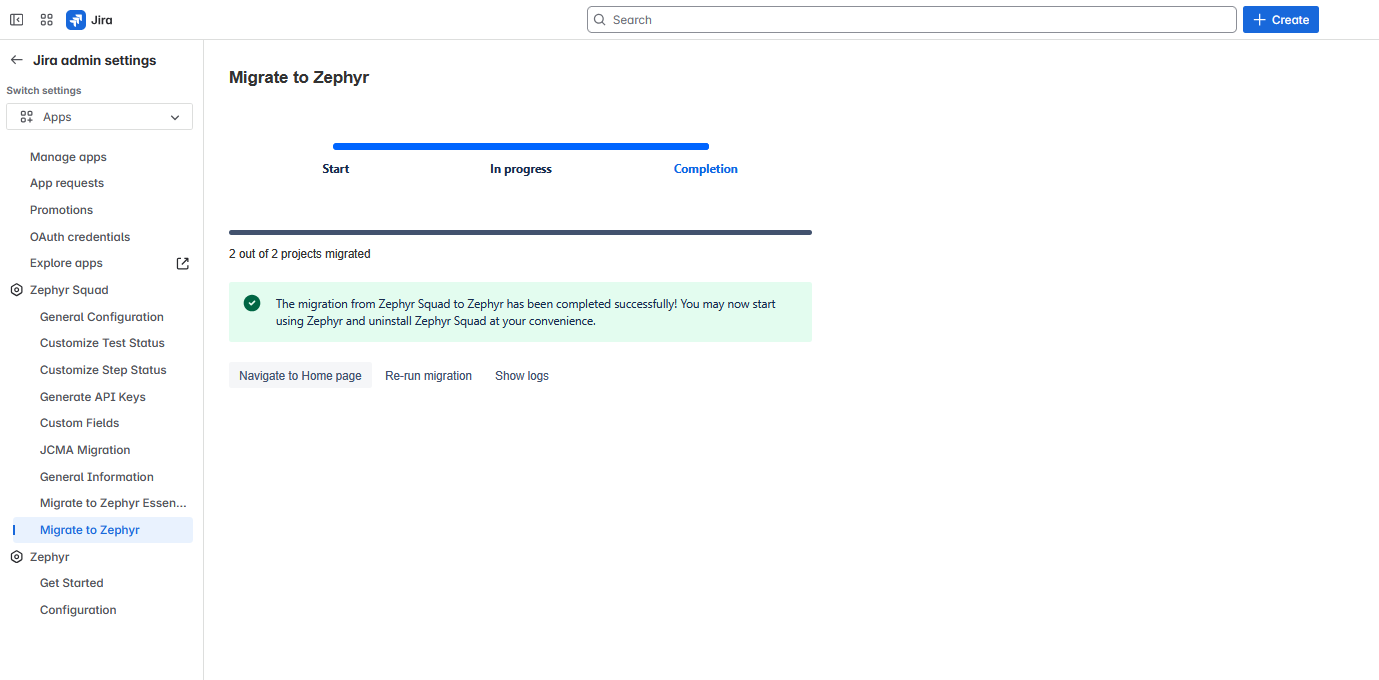
You can now navigate to Zephyr in Jira homepage to see your migrated projects.
Migration partially complete
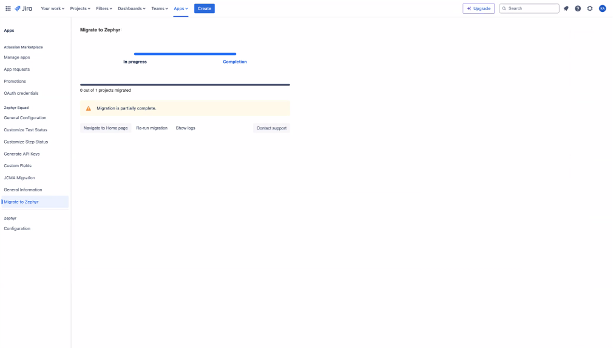
You can see error logs and review the details of the encountered errors.
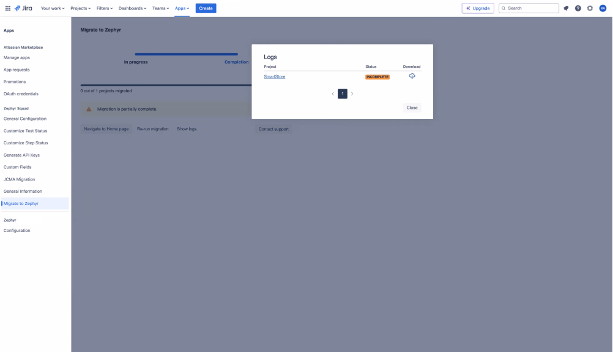
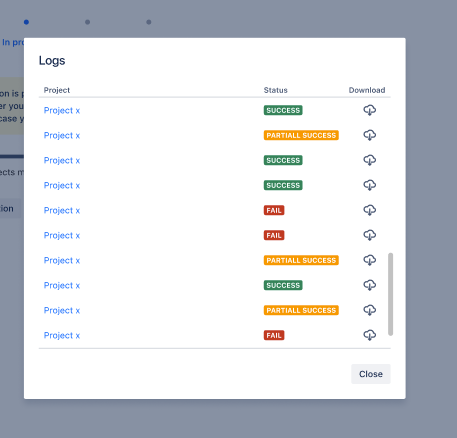
Migration fails
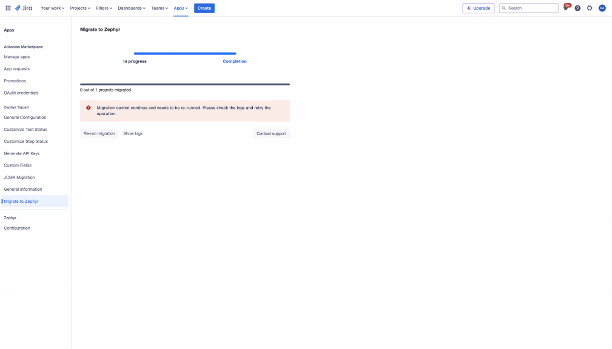
In the event of failure or a partial success situation requiring another migration attempt, users must initiate the migration process once more from the beginning. Click the Re-run migration button to navigate back to the initial page. The system will verify if any other migration is in progress.
Warning
If you run the migration again, it overwrites the migrated data and restarts from the beginning.
Which data can't be migrated?
The migration engine does not support migrating BDD data. Once the migration process begins, the delta data cannot be migrated at a later time. We therefore advise that you only initiate the migration process if the migration of BDD data is not crucial for your requirements. Furthermore, Zephyr does not have the execution history feature, so it will not be migrated.
Using the product during the migration
Any Zephyr Squad data created during the migration process will not be transferred. We do not support delta data migration, meaning there is no option to migrate data created after the initial export.
For example, if your QA team continues testing during the migration, any test cases or results added during that time will need to be manually recreated or re-imported into Zephyr after the migration.
Migration completion
Once the migration is finished, you can assess your data in the Zephyr app. Click on Navigate to Home page .
You can also open Zephyr from the Jira home page. Go to the Apps tab and choose Zephyr.
If you are satisfied with the migrated data, subscribe to Zephyr and unsubscribe from Zephyr Squad. If you have any concerns, add new data, or identify migration issues, you can perform the migration again or contact our support team for assistance.